Of the many forms of Linux customizations, macOS clones are some of the most popular ones.
As far back as 1997, *Nix users have been hacking together ways to emulate the UI's of Apples proprietery operating system.
While the distro used in these examples is Ubuntu MATE, theoretically any distro can be achieve the same results, so long as MATE, Vala Global Menu, and Plank are avalible on its repositorys.
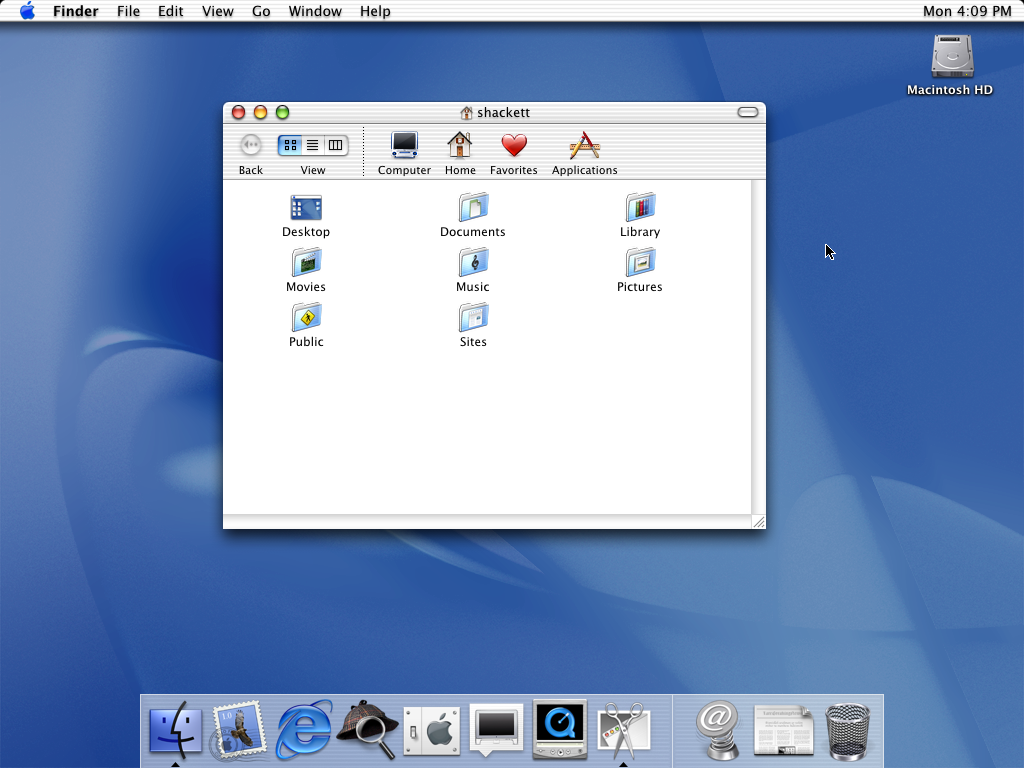
Our first conversion is the very first consumer release of Apples NeXTSTEP derived operating system, OS X 10.
To begin, open the MATE Tweak tool, select the "Panel" option, then set the panel layout to "Cupertino".
Then, download the Cheetah conversion kit. Unzip the kit to your /usr/share/ folder (NOTE:You may have to run caja as the root user.)
Now go to your appearance preferences and select the "Customize" button. Set the Controls and Window Border to Mac OS X Cheetah, the Icons to Mac-OSX-Cheetah, and the cursor to Mac_OSX_Aqua.
Afterwords, go to Planks preferences and set the theme to OSXCheetah.
Finally, set your Application and desktop font to Lucida Grande (Or in a pinch, Cabin), your Document font to Helvetica (Or in a pinch, FreeSans) Window title to Lucida Grande Bold, and your Fixed width to Monaco.
Bonus: Set your wallpaper to the Default Cheetah wallpaper.
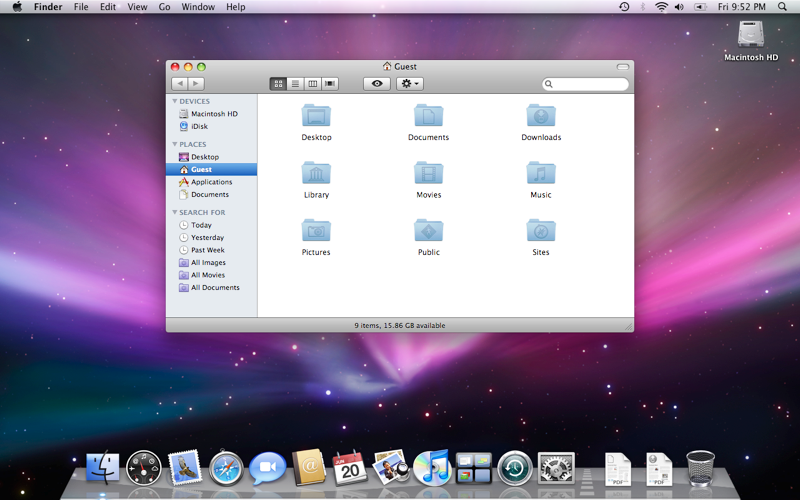
One of the most iconic versions of macOS, along with one the most beloved UI styles Apple has released, This Skeuomorphic GUI maintains a cult following.
To begin, open the MATE Tweak tool, select the "Panel" option, then set the panel layout to "Cupertino".
Then, download the Snow Leopard conversion kit. Unzip the kit to your /usr/share/ folder (NOTE:You may have to run caja as the root user.)
Now go to your appearance preferences and select the "Customize" button. Set the Controls and Window Border to OS-X-Leopard-1.2, the Icons to Mac-OSX-Lion, and the cursor to Shere Khan X.
Afterwords, go to Planks preferences and set the theme to OSXSnowLeopard.
Finally, set your Application and desktop font to Lucida Grande (Or in a pinch, Cabin), your Document font to Helvetica (Or in a pinch, FreeSans) Window title to Lucida Grande Bold, and your Fixed width to Menlo (Or in a pinch, DejaVuSans Mono).
Bonus: Set your wallpaper to either the Default Snow Leopard or the Default Snow Leopard Server Wallpapers.
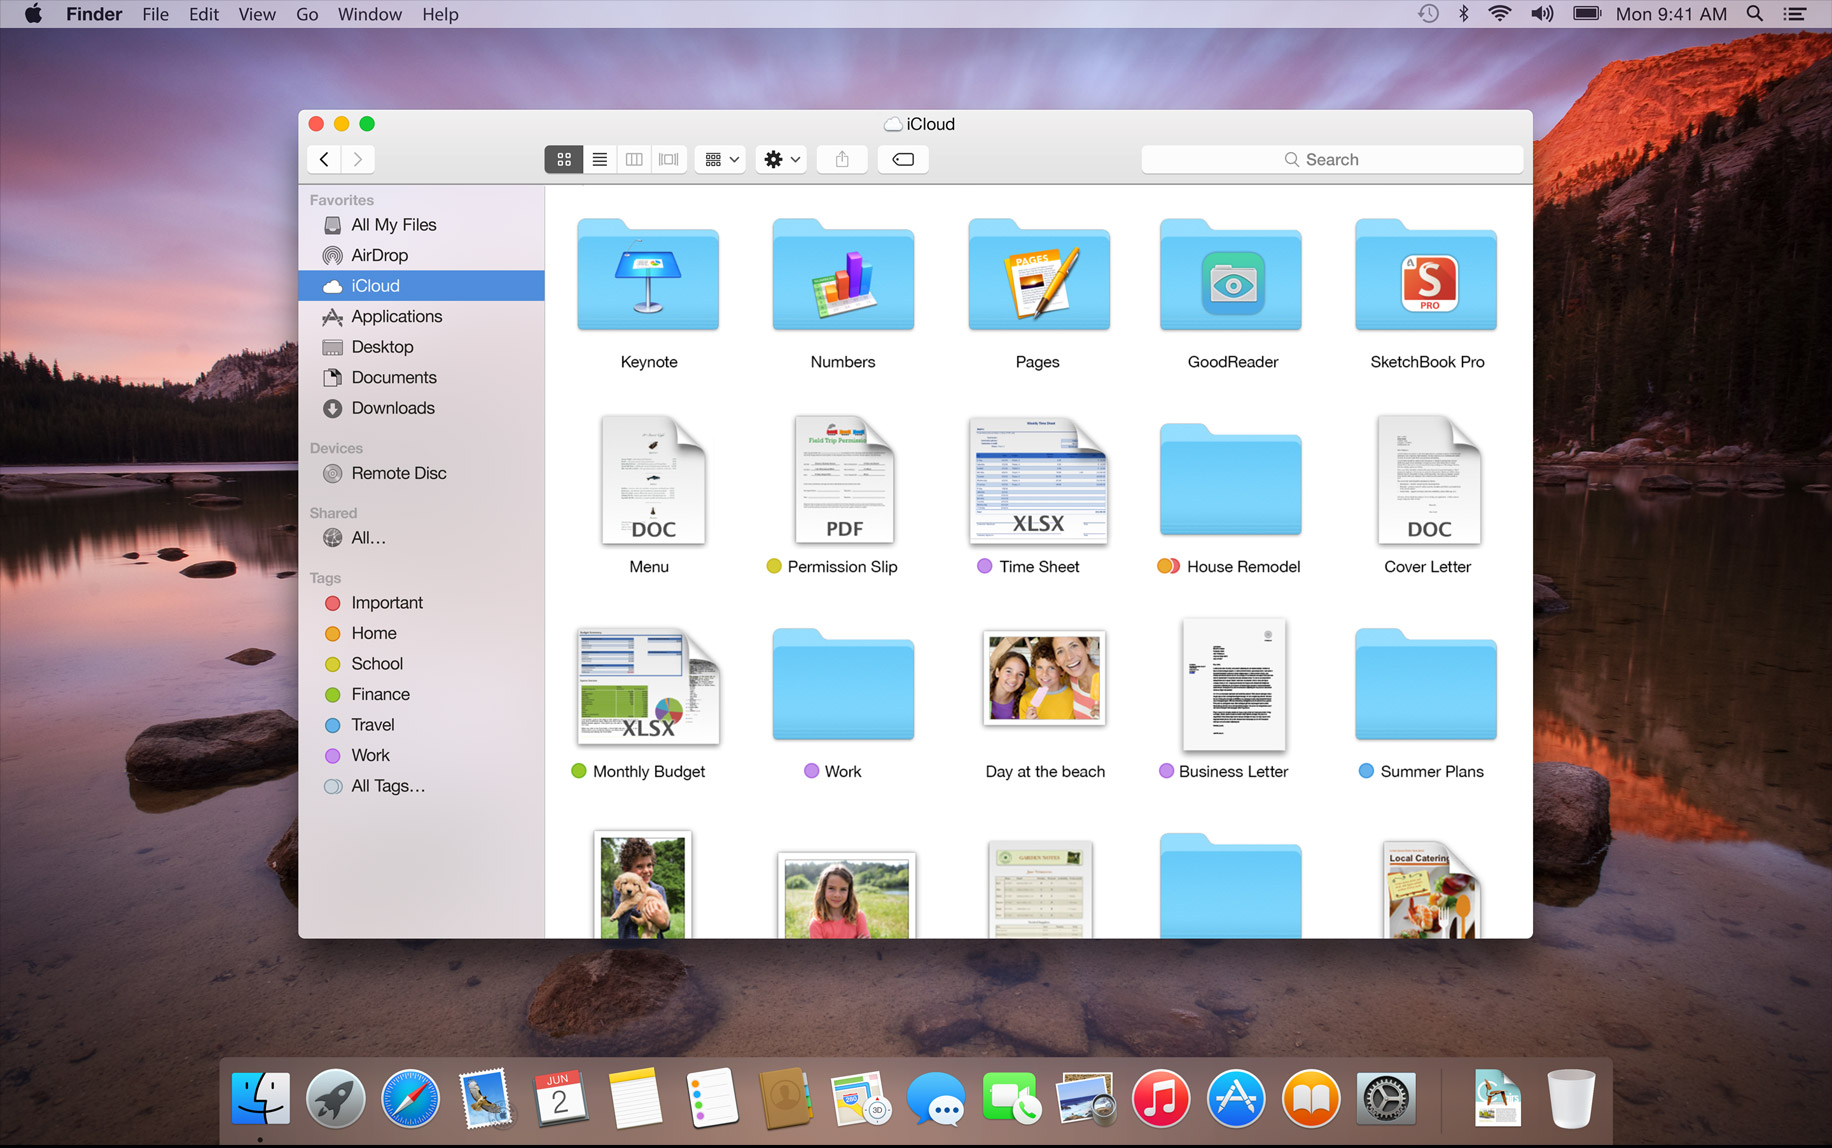
The first release of Mac OS X to do without the realistic and deatield look in favor a flat and minimalistic look that proved highly controversiol.
To begin, open the MATE Tweak tool, select the "Panel" option, then set the panel layout to "Cupertino".
Then, download the Yosemite conversion kit. Unzip the kit to your /usr/share/ folder (NOTE:You may have to run caja as the root user.)
Now go to your appearance preferences and select the "Customize" button. Set the Controls and Window Border to OS-X-Yosemite-2.1, the Icons to Os-Catalina-icons, and the cursor to OSX-ElCap.
Afterwords, go to Planks preferences and set the theme to mcOS_Yosemite_Lite.
Finally, set your Application and desktop font to Helvetica Neue Medium(Or in a pinch, FreeSans), your Document font to Helvetica (Or in a pinch, FreeSans) Window title to Helvetica Neue Bold (or in a pinch, FreeSans Bold), and your Fixed width to Menlo (Or in a pinch, DejaVuSans Mono).
Bonus: Set your wallpaper to the Default Yosemite Wallpaper.
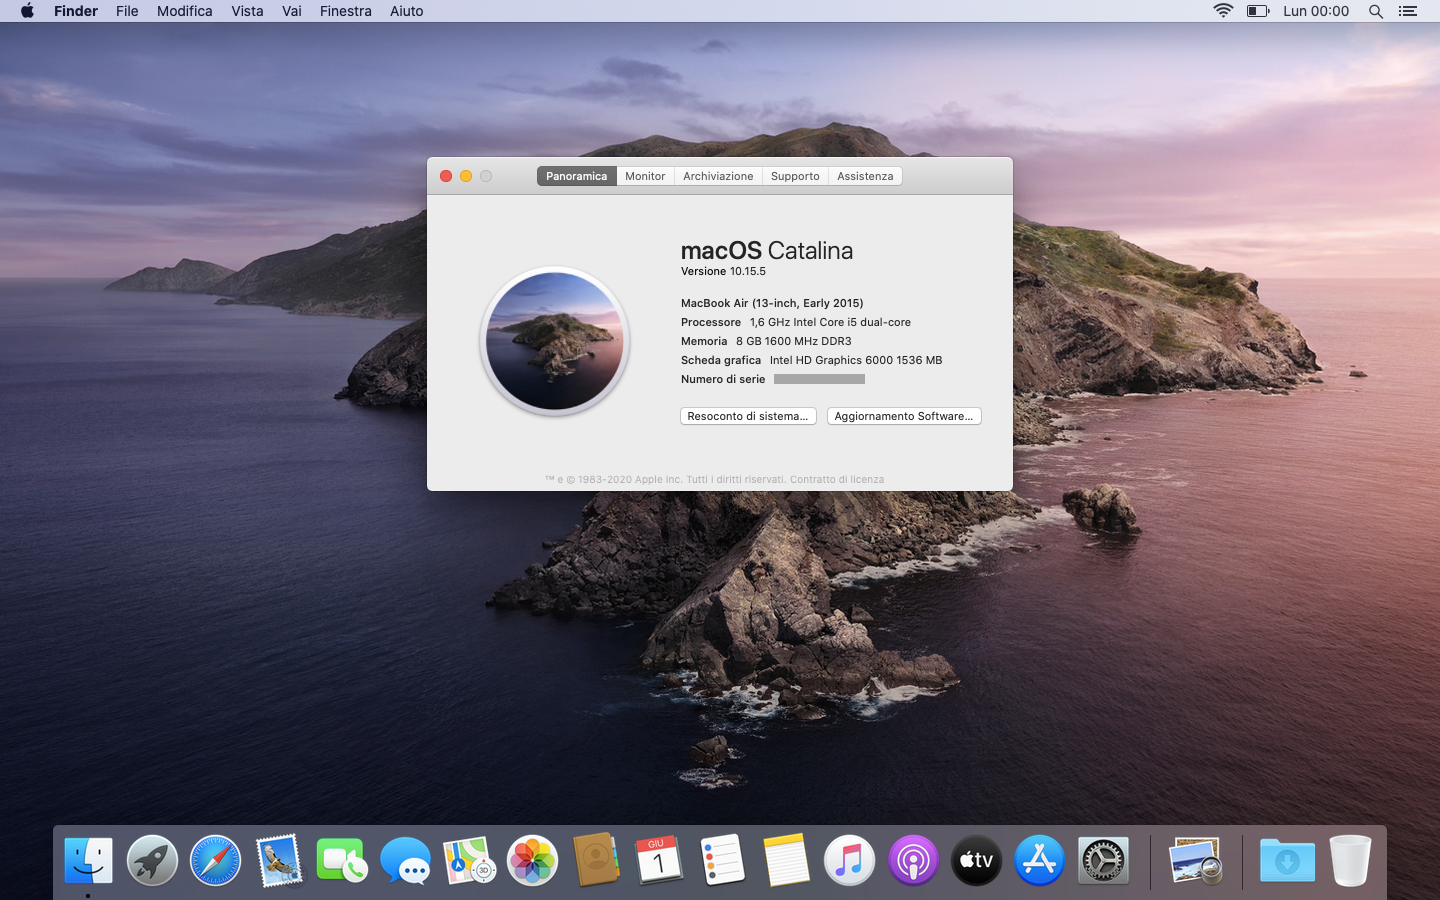
The last version of macOS to use the flat style pioneered by Yosemite. It inheirited the Light and Dark/Day and Night color schemes pioneered by 10.14 Mojave.
To begin, open the MATE Tweak tool, select the "Panel" option, then set the panel layout to "Cupertino".
Then, download the Catalina conversion kit. Unzip the kit to your /usr/share/ folder (NOTE:You may have to run caja as the root user.)
Now go to your appearance preferences and select the "Customize" button. Set the Controls and Window Border to macOS-Catalina-1.0 for day, or macOS-Catalina-Dark-1.0-dark for Night, the Icons to Os-Catalina-icons for day, or Os-Catalina-Night for Night, and the cursor to OSX-ElCap.
Afterwords, go to Planks preferences and set the theme to mcOS_Catalina Day for Day, or mcOS_Catalina Night for Night.
Finally, set your Application and desktop font to SF UI Text (Or in a pinch, Inter), your Document font to Helvetica (Or in a pinch, FreeSans) Window title to SF UI Bold (or in a pinch, Inter Bold), and your Fixed width to SF Mono (Or in a pinch, Roboto Mono).
Bonus: Set your wallpaper to the Default Catalina Day or Night wallpaper.