
One of the biggest criticisms made towards GIMP is its lackluster GUI. Thankfully, GIMP's UI is customizable enough to allow for a high-quality replica of the default Photoshop GUI.
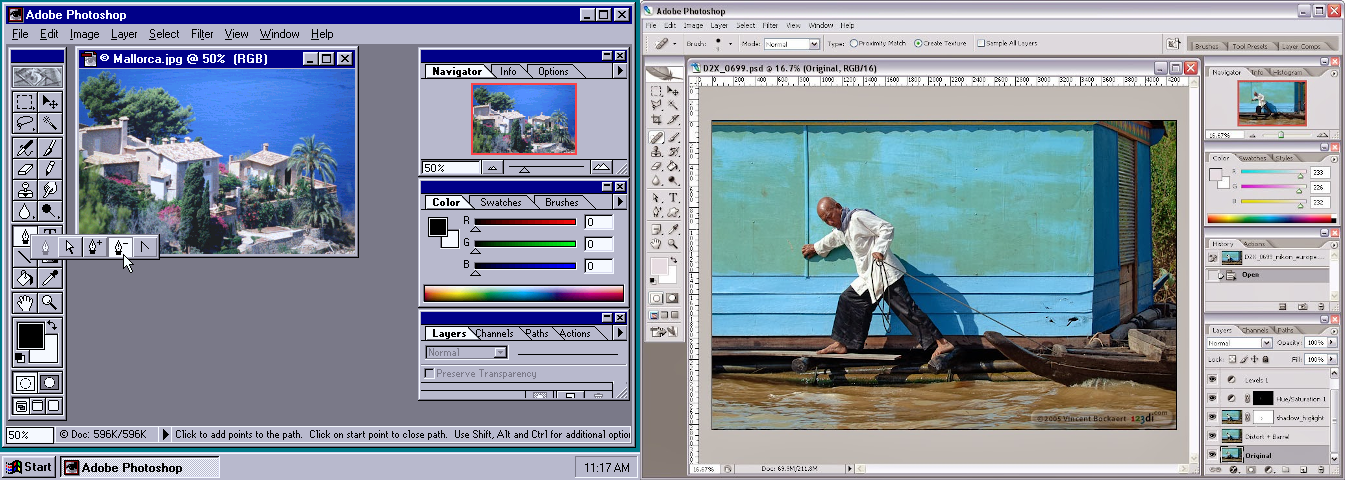
Photoshops UI didn't change much, if at all, through its early years, making the default layout from '96 to '05 virtually identical.
First, remove all tabs from the toolbox, then drag it right. It should bare a resembelence to the image above.
Now, add the Navigation, Device Status, and Tool Options to the top dock. (NOTE: There is no exact equivilent to the "Info" tab in photoshop, Although the Device Status seems to be the closest.)
Now, add a middle dock with the Colors, Palletes, and Brushes tabs.
And finally, add a bottom tab with the Layers, Channels, and Paths tabs. (NOTE: GIMP has no equivilent to Photoshops "Actions" and has been omitted."
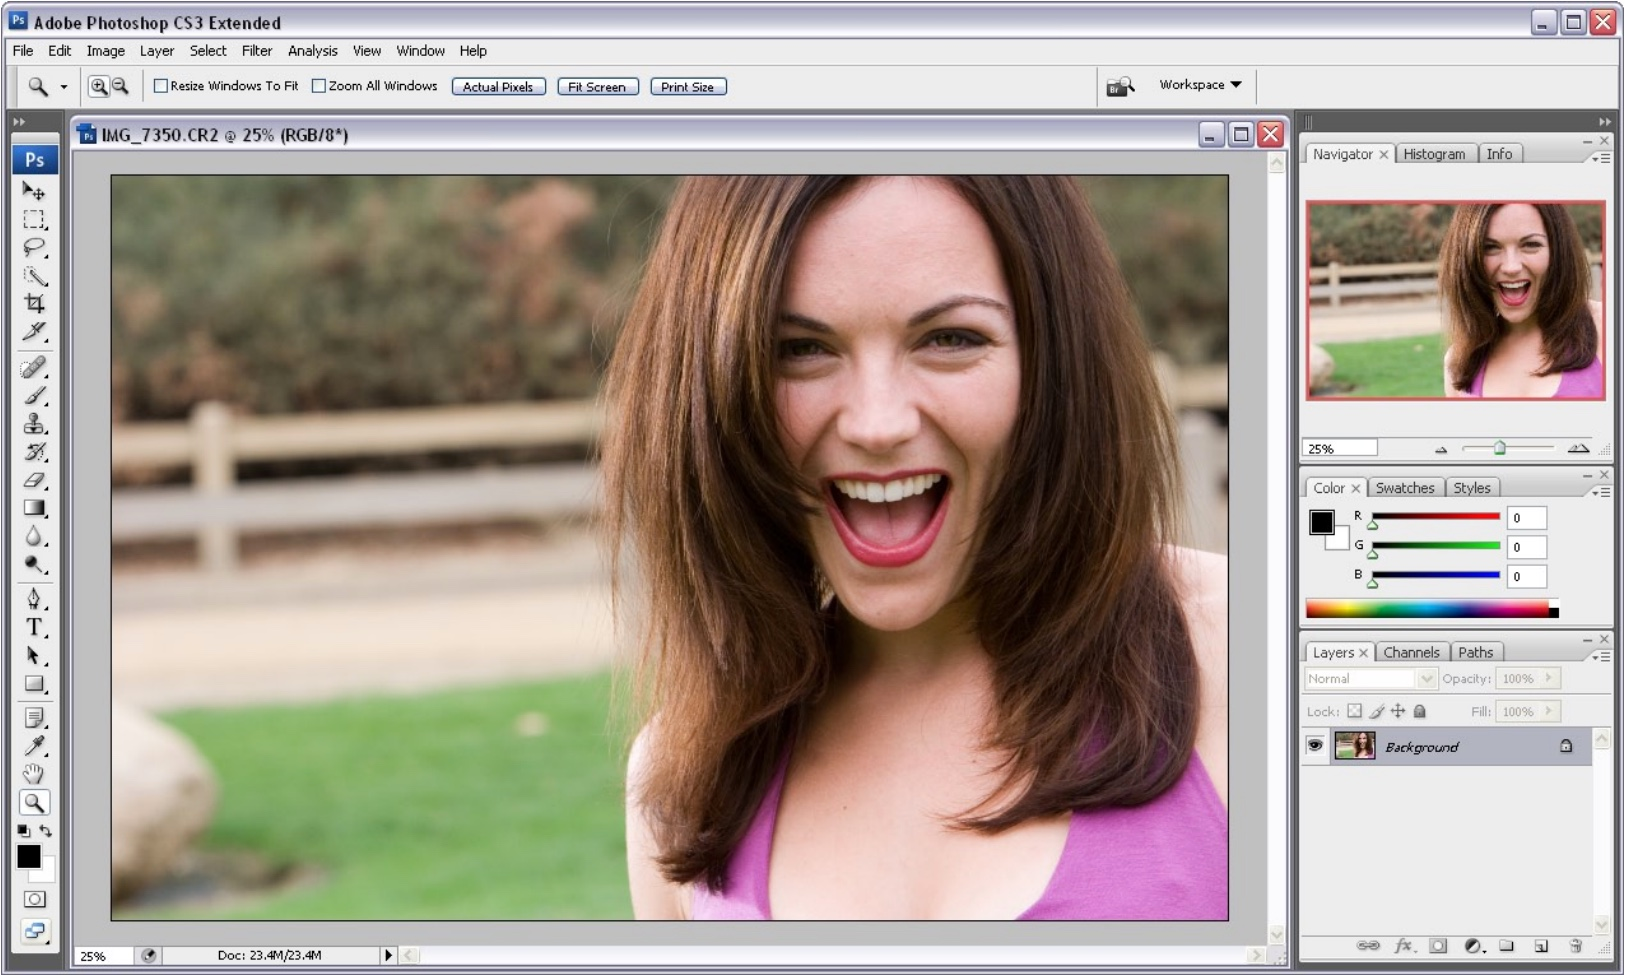
The first version to break the mold. Later versions are similar, but not exact.
First, remove all tabs from the toolbox,then drag it left until it resembles the screenshot above.
Then, add the Navigation, Histogram, and Device Status tabs to the top dock. (NOTE: There is no exact equivilent to the "Info" tab in photoshop, Although the Device Status seems to be the closest.)
Next, add the Color and Palletes tabs to the middle dock (NOTE: As there is no equivilent to Photoshops "Styles" function in GIMP, it has been ommitted.)
And last, add the Layer, Channels, and Paths tabs to the bottom dock.
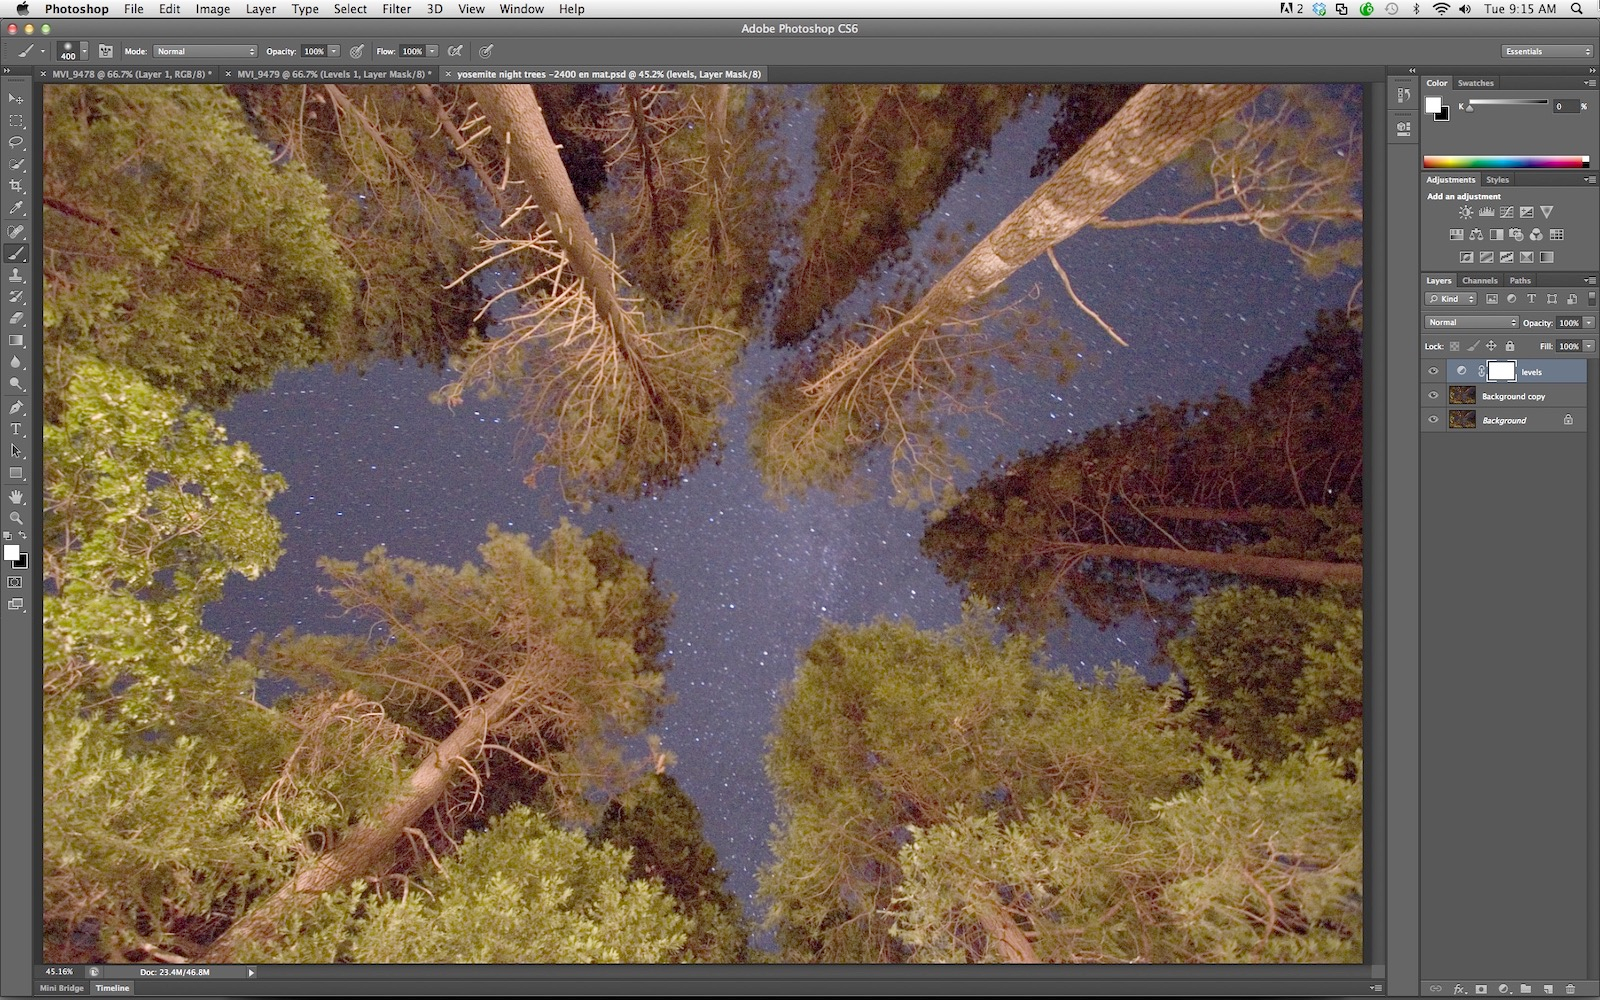
The first instance of the modern/current Photoshop GUI.
First, remove all tabs from the toolbox. Then drag it left until it resembles the above screenshot.
Next, add the Color and Palletes tabs to the top dock.
Last, add the Layers, Channels, and Paths tabs to the second dock. (NOTE: Due to GIMPs lack of "Adjustments" or "Styles" equivilents, they have been omitted.)
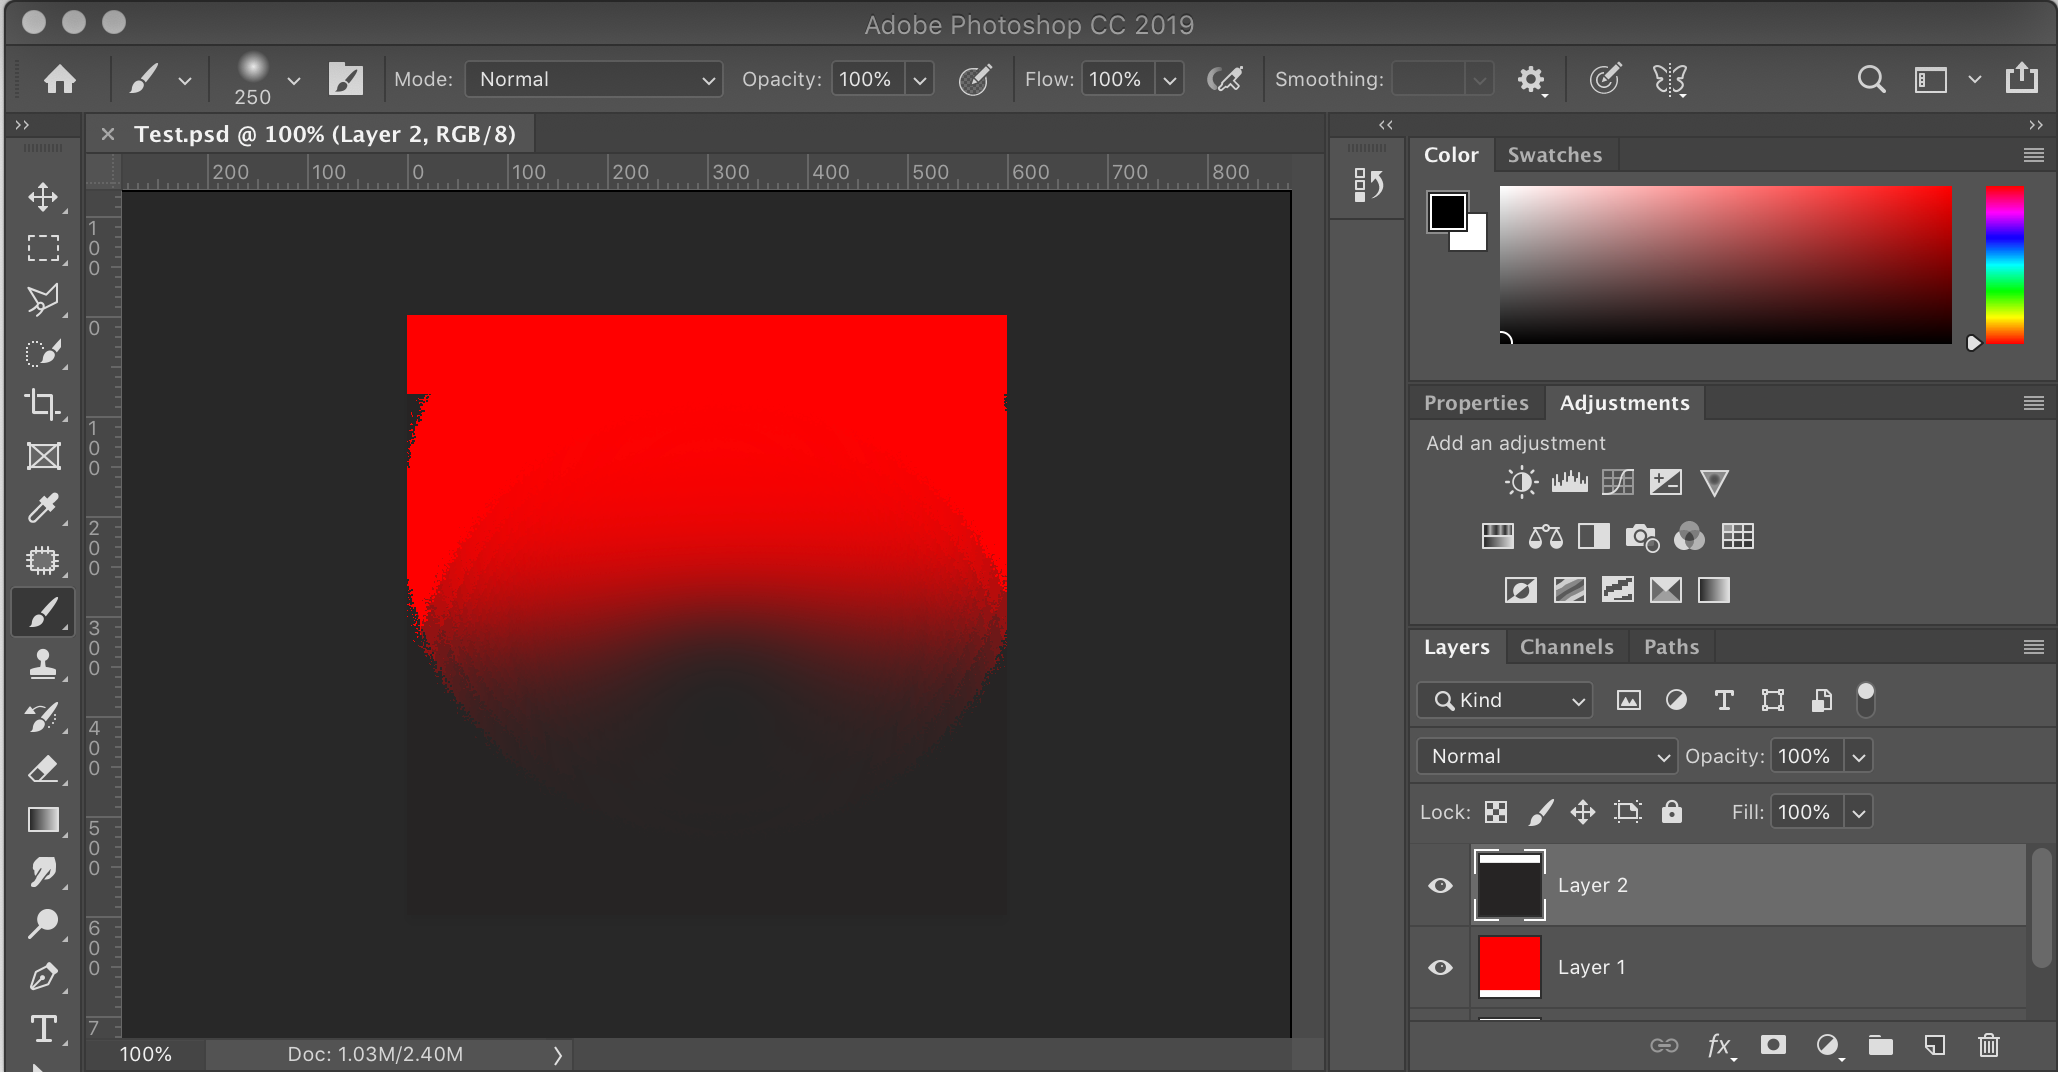
The latest in Photoshops GUI
First, remove all tabs from the toolbox, then drag it left until it matches the above screenshot.
Then, Add the Color and Palletes Tabs to the top dock.
Next, add the Device Status Tab to the middle dock (NOTE: Due to the lack of a "Adjustments" equivilent in GIMP, it has been omitted.)
And last, but not least, Add the Layers, Channel, and Paths tabs to the bottom dock.